
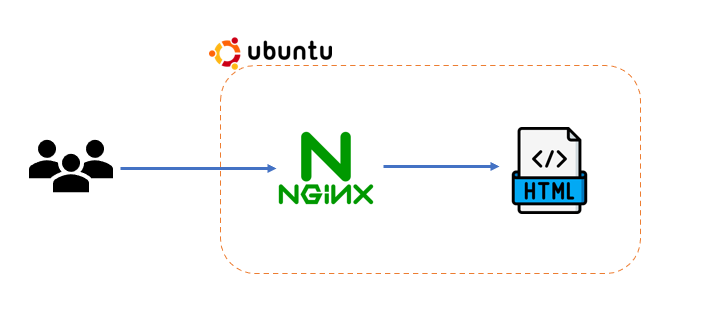
In this blog, we will learn how to configure a basic site using Nginx. If you haven’t set up Nginx yet, you can follow the post on installing Nginx on Ubuntu 22.04.
1. Create a basic website
The default page is located in the /var/www/html/ directory. You have the option to either place your static pages here or utilize a virtual host and store them in another location.
A virtual host is a method of hosting multiple domain names on the same server.
Now, let’s create a simple HTML page in the /var/www/tutorial/ directory (you can choose any location you prefer). Create an index.html file in this location.
cd /var/www
sudo mkdir tutorial
cd tutorial
sudo "${EDITOR:-vi}" index.html
Paste the following content into the index.html file:
<!doctype html>
<html>
<head>
    <meta charset="utf-8">
    <title>Hello, Nginx!</title>
</head>
<body>
    <h1>Hello, Nginx!</h1>
    <p>Setting up the first webpage with Nginx.</p>
</body>
</html>
Save this file. In the next step, we will set up a virtual host to enable Nginx to use pages from this location.
2. Set up a virtual host
To configure a virtual host, we need to create a file in the /etc/nginx/sites-enabled/ directory.
For the purposes of this tutorial, we will configure our site to be available on port 81, deviating from the standard port 80. You can adjust the port setting according to your preferences.
cd /etc/nginx/sites-enabled
sudo "${EDITOR:-vi}" tutorial
Within the opened file, include the following configuration:
server {
    listen 81;
    listen [::]:81;

    server_name example.toanthien.com;

    root /var/www/tutorial;
    index index.html;

    location / {
        try_files $uri $uri/ =404;
    }
}
Here, ‘root’ designates the directory where we placed our .html file, ‘index’ specifies the file to be served when visiting the root directory of the site, and ‘server_name’ can be set to any desired value at this point, as it is not yet associated with any real domain.
In real usage, we always use port 80 (the default web port) to set up a site.
3. Testing the configuration and viewing the results
After configuring the virtual host, it’s essential to test the configuration and view the results.
sudo nginx -tThis command checks the Nginx configuration for any syntax errors. If the test is successful, restart Nginx to apply the changes:
sudo systemctl restart nginxNow, open your web browser and navigate to http://example.toanthien.com:81 (or the server_name you specified). You should see the Hello, Nginx! page that we configured earlier.
This confirms that the virtual host setup is working as intended. If you encounter any issues, you can review the Nginx error logs for troubleshooting:
sudo tail -f /var/log/nginx/error.logThese steps ensure a smooth configuration process and help you identify and address any potential issues.
4. Summary
That’s all; you can easily set up a site with Nginx. Otherwise, Nginx can work as a reverse proxy to forward traffic to your server, which is very helpful when setting up a web server. You can follow the instructions in this blog for more details
Are you new to using Nginx or have you been using it professionally? If you have any suggestions on effective ways to use Nginx, please share them with me. Thank you for reading this post!