Introduction
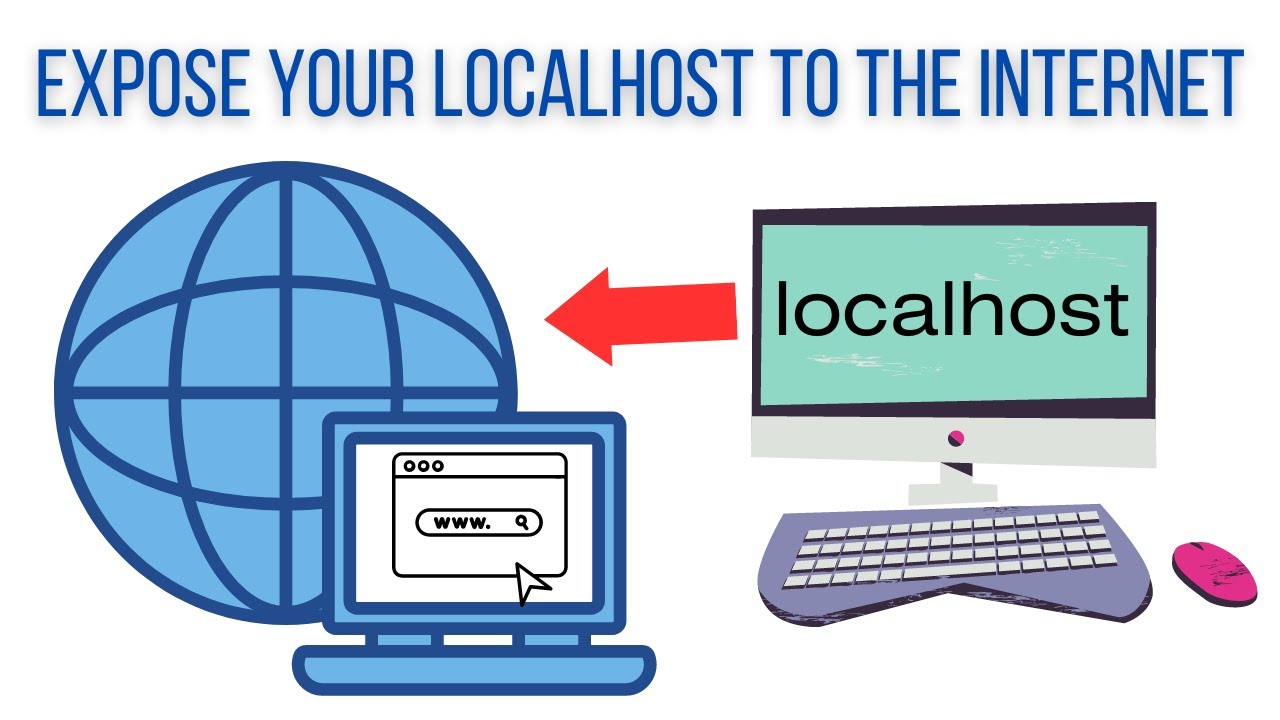
Have you ever found yourself with a coding masterpiece in the making, itching to share it with testers or collaborators? Maybe you’re stuck in the development phase, and deploying to a test server feels like a hassle. Fear not! This blog will guide you through turning your localhost into a public domain, opening doors for seamless testing and collaboration.
Access Within the Same LAN
When you and your testers share the same Local Area Network (LAN), accessing your localhost is straightforward. Simply use the internal IP address and port for easy access.
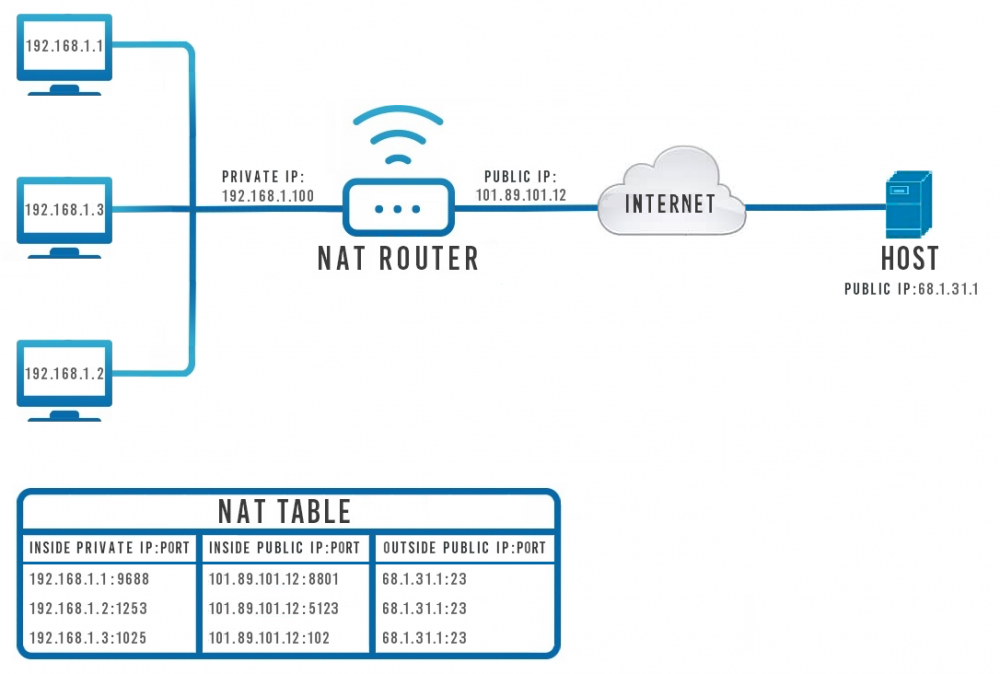
Beyond the LAN: The Challenge
However, when testers are on a different LAN, the process becomes trickier. Directly exposing your localhost by NAT porting through the router to the Internet is often complex and not an ideal solution.
Enter Tools for Seamless Accessibility
Fortunately, there are user-friendly tools designed to simplify this process. They act as tunnels, making your localhost accessible over the Internet. Here are some handy tools:
1. Ngrok – Unified Ingress Platform for Developers:
Ngrok provides a unified platform for developers, allowing you to expose your local server to the web securely. To use Ngrok:
# After signing up and installing Ngrok
# Run the following command in your terminal
ngrok http 3000
2. Localtunnel – Expose Yourself to the World:
Localtunnel is a simple and effective tool for exposing your localhost to the Internet. To use Localtunnel:
# After installing Localtunnel globally
# Start your local server (e.g., on port 4000)
localtunnel --port 4000
3. localhost.run – Instantly Share Your localhost:
With localhost.run, you can instantly make your localhost public without the need for complex configurations. To use localhost.run:
# Ensure your local server is running (e.g., on port 5000)
localhost.run -p 5000
Magic with Visual studio code
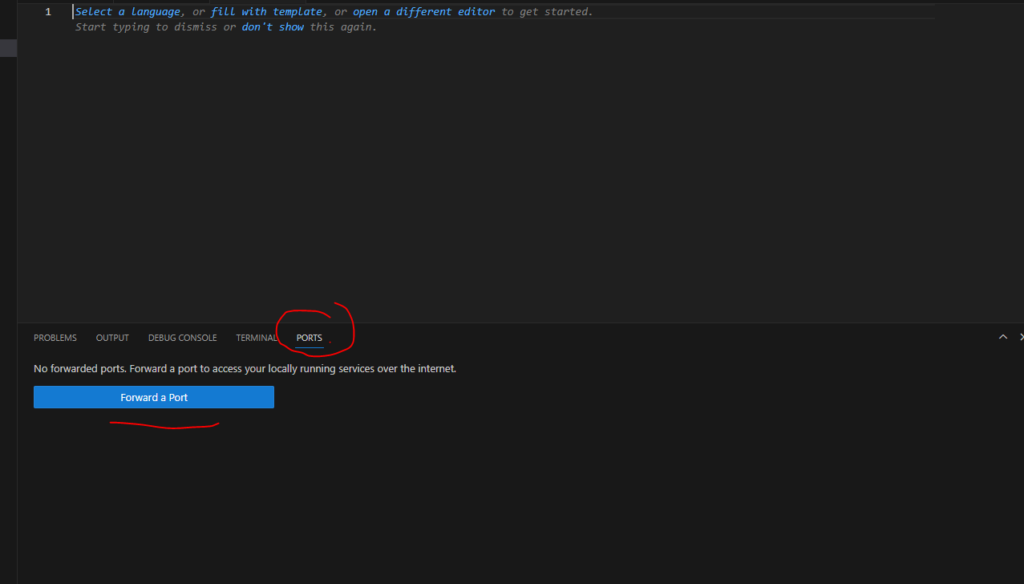
If you use Visual Studio Code as your editor, you have an additional option available: Local Port Forwarding, and no extension is required
Start by having a service you want to forward. If you don’t have one yet but have Node.js installed, you can run the following command to launch a server on port 3000
npx serveNavigate to the “Ports” view in the Panel region (Ports: Focus on Ports View) and select “Forward a Port.”
If you haven’t logged in with GitHub before, you’ll be prompted to sign in. Enter the port you’d like to forward; the default port using the above command is 3000. Once entered, the port forwarding system initiates, and the Ports view updates to display the forwarded port and its forward address.

Hovering over the Forwarded Address, you can use the inline actions to copy the address, open it in your browser, or open an in-editor preview.
By default, the forwarded port is set to Private. When you navigate to the URL, you’ll need to sign in with the same GitHub account used to start the port forwarding process in VS Code. You can change the visibility by right-clicking on the port and selecting “Port Visibility > Public.” Public ports don’t require sign-in.
Summary
Turning your localhost into a public domain is no longer a daunting task. Thanks to these tools, you can effortlessly share your development environment with the world, fostering collaboration and efficient testing. Give them a try, and witness the transformation of your development workflow!
If you’re ready to set up your own server, follow the Nginx instructions here: Install Nginx on Ubuntu 22.04
Do you know any other ways to expose local services to the internet? Please share them with me. Thank you for following this post!