Portainer is a free and open-source container management tool that provides a graphical user interface (GUI) for managing Docker containers. It is a great way to simplify the management of Docker containers, especially for beginners.
In this blog post, we will show you how to deploy Portainer using Docker. We will be using a Linux server for this example, but the steps are similar for other operating systems.
Prerequisites
Before you can deploy Portainer, you will need to have the following prerequisites:
- A Linux server with Docker installed
- A web browser
Install Portainer
To install Portainer, you can use the following command:
docker run -d -p 8000:8000 -p 9443:9443 --name portainer --restart=always -v /var/run/docker.sock:/var/run/docker.sock -v [portainer_data]:/data portainer/portainer-ce:latestThis command will create a new Docker container named portainer. The -d flag tells Docker to run the container in detached mode, and the -p flag maps port 9443 on the host machine to port 9443 in the container. The -v flag mounts the /var/run/docker.sock socket file from the host machine to the /var/run/docker.sock directory in the container. You also need to change [portainer_data] to the path of the location where you want to store persistent setup data.
Access Portainer
Once Portainer is installed, you can access it by opening a web browser and navigating to the following URL:
https://your-ip-server:9443
Don’t worry if you see an SSL warning, click “Proceed” to access in your browser.. You will be prompted to create a new user account. Enter a username, password, and email address, and then click the “Create” button.
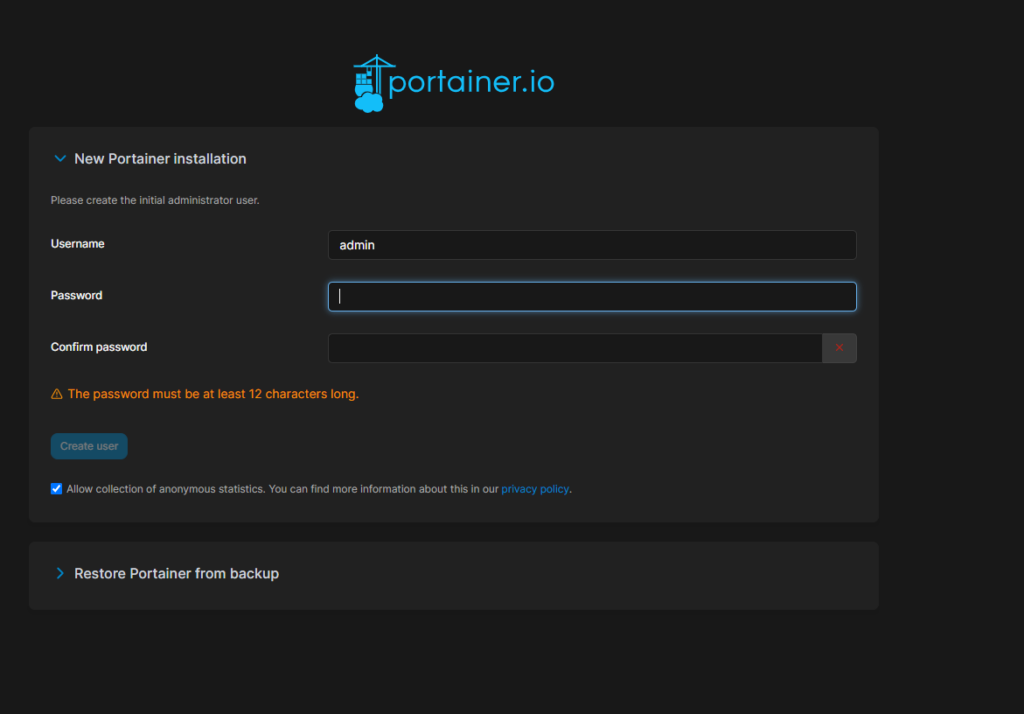
If you see a timeout error, simply restart your container.
docker restart portainer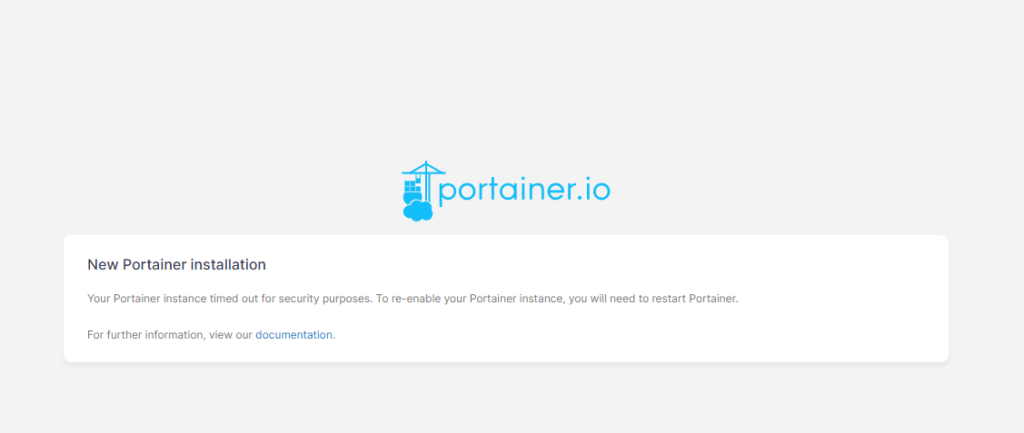
Configure Portainer
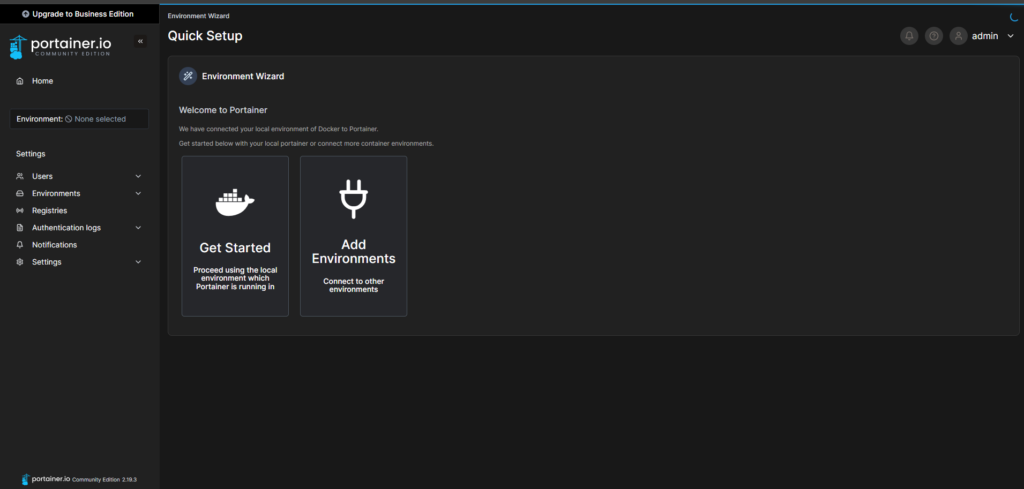
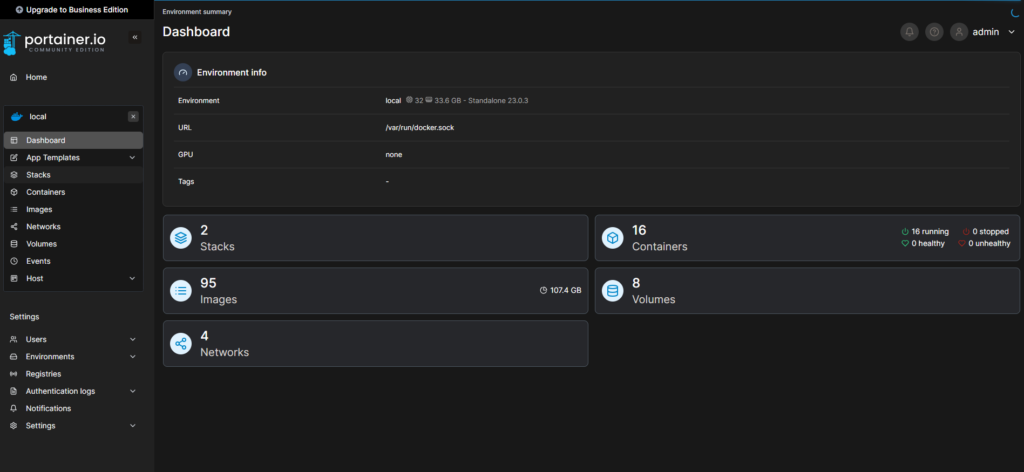
Now, you will see the quick setup screen. By default, the local Docker environment will be added. Simply click “Quick Set” and then access the local environment. Everything related to Docker on your server will be managed here
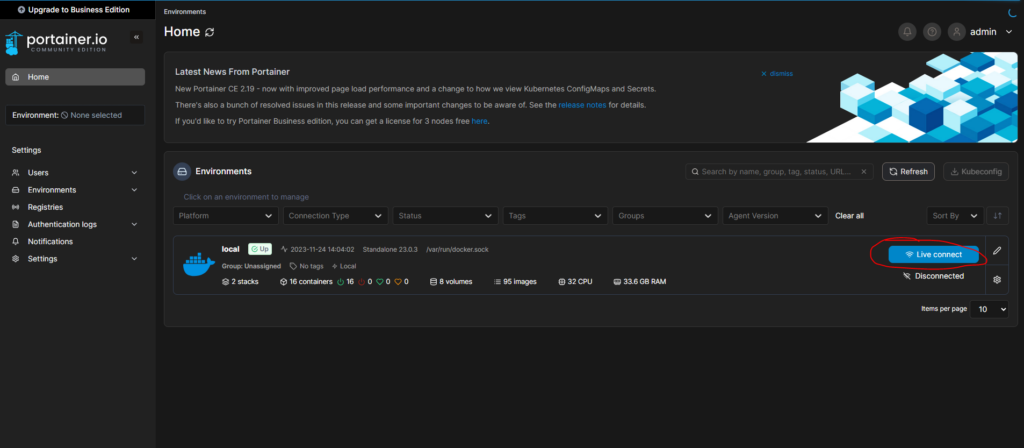
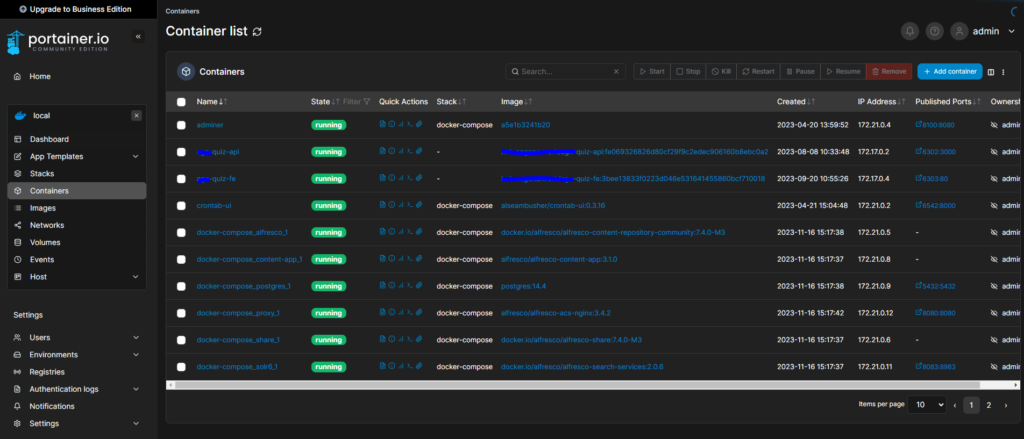
Now, you can enjoy the benefits of Portainer. You can manage stacks, containers, volumes, images, networks, and more.
You can also create, delete, pause, and start a container right on the Portainer interface.
Summary
That’s it! You have now successfully deployed Portainer using Docker. You can now use Portainer to manage your Docker environment.
Here are some additional tips for deploying Portainer:
- If you want to access Portainer from a remote machine, you can use a reverse proxy to create a secure connection.
- You can also use Portainer to deploy multi-container applications. To do this, you will need to create a Docker Compose file.
For more information on Portainer, please visit the Portainer documentation: https://docs.portainer.io/.
Explore more fascinating blog posts on our site!

Do you find Portainer to be a useful tool? Are you using any other great tools? Let me know your opinion. Thank you for reading this post!